I have a buddy that has more money than brains. He's a great friend, but he also has an unlimited budget to just purchase things on a whim. He picked up an Ammodor from the company that sells them online with a groupon. He showed me it and it got me to thinking....Hey I can build that for a fraction of what he paid for it!
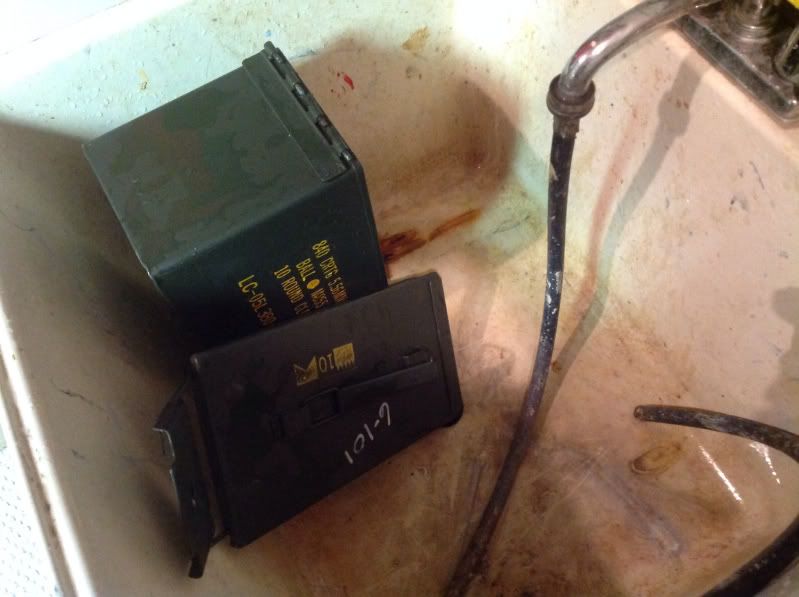
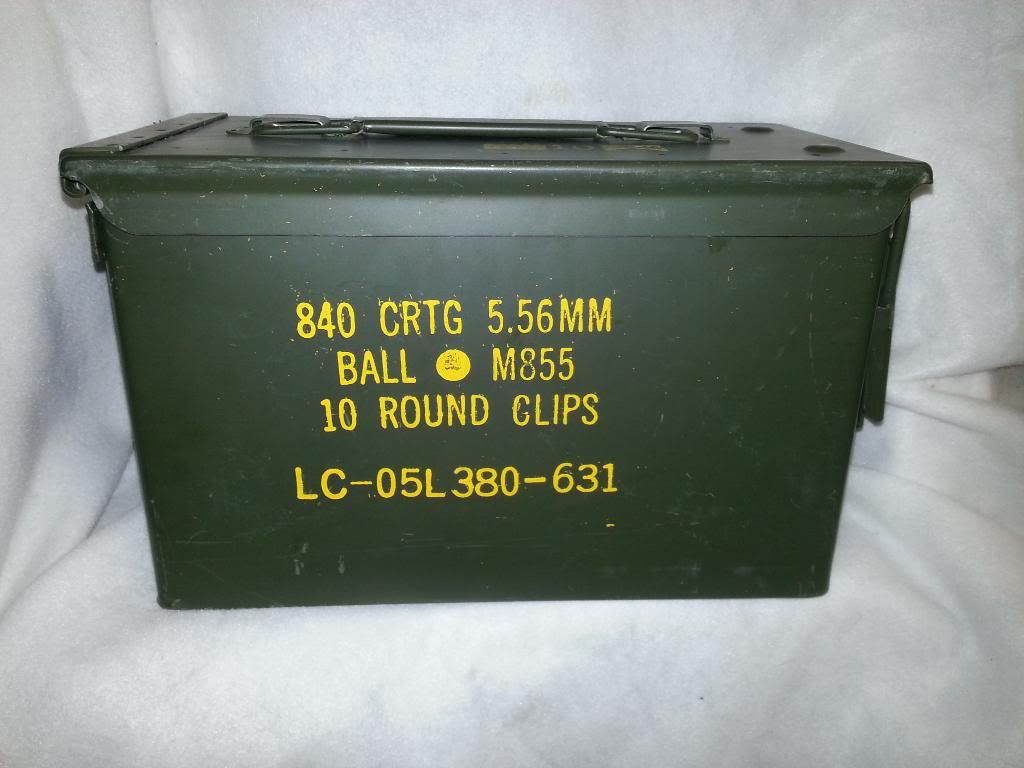
So I hit up the local Army surplus joint and picked this bad boy up:
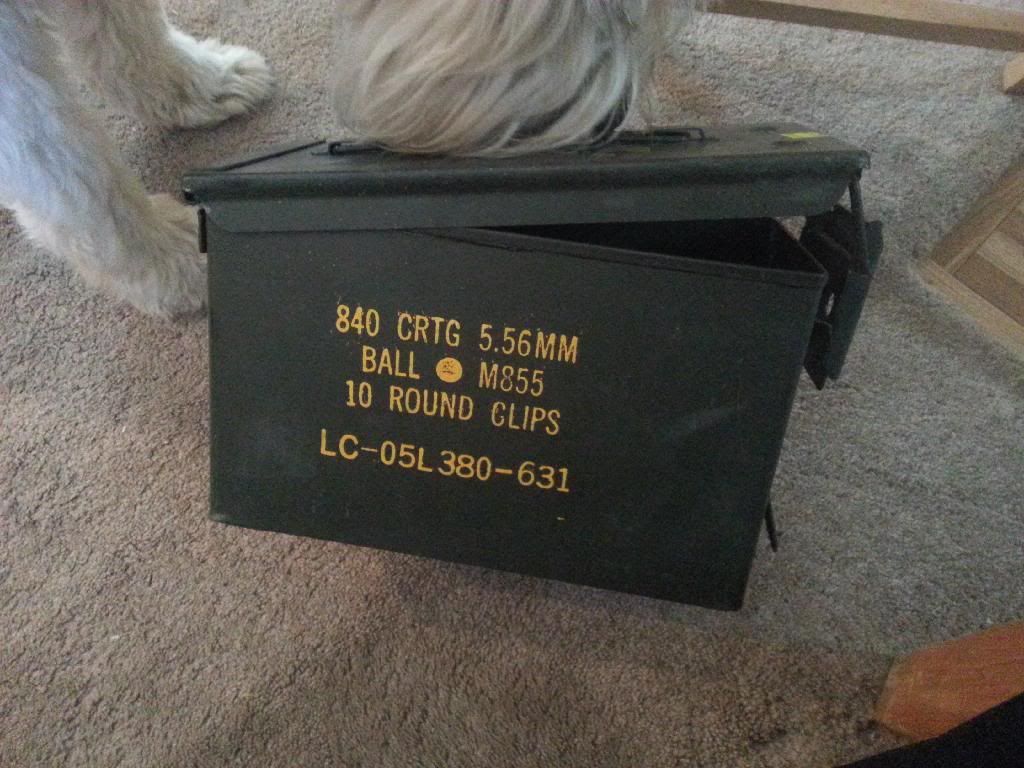
$20
L:11" W: 5.75" H" 7"
Cleaned it up
-took it apart
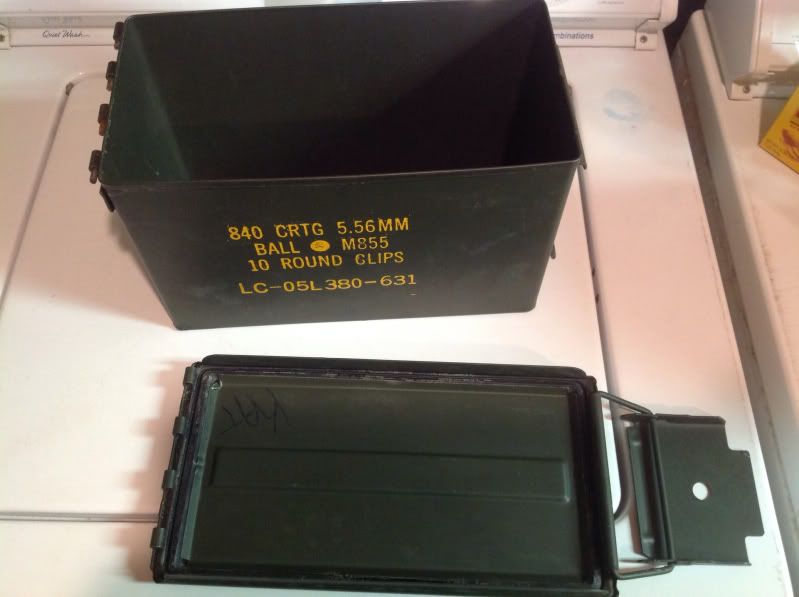
-Cleaned with anti-bacterial soap.
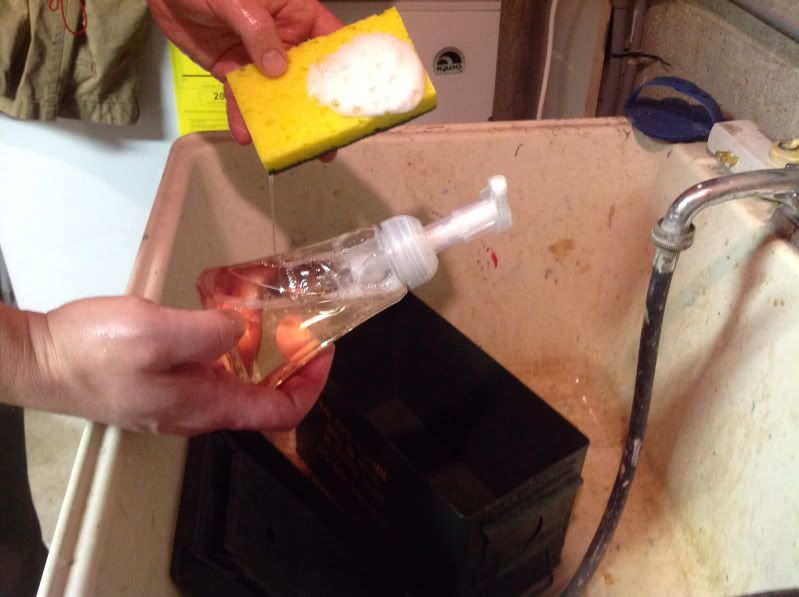
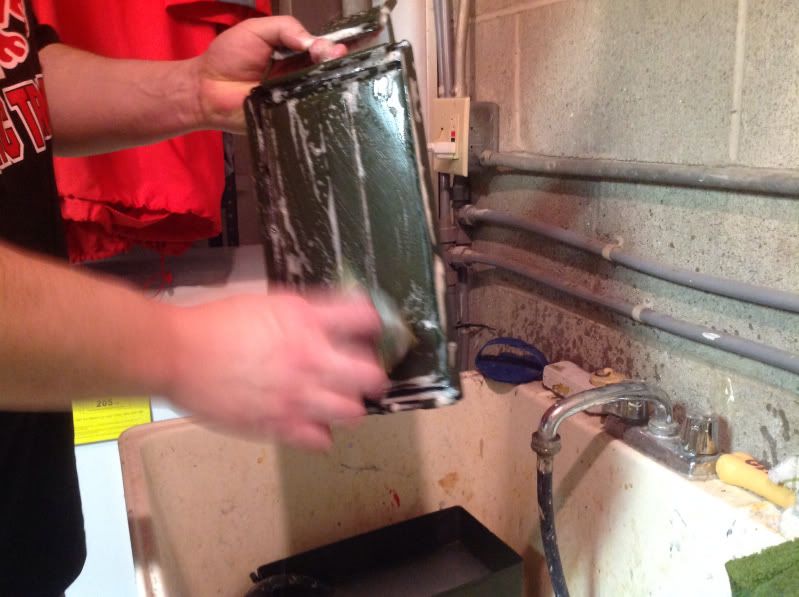
-Rinsed with warm water:
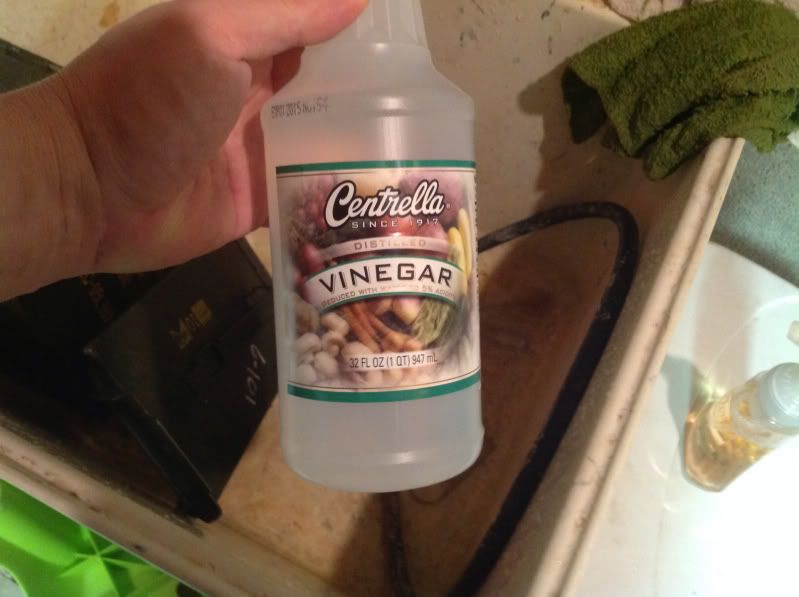
-Cleaned with distilled white vinegar:
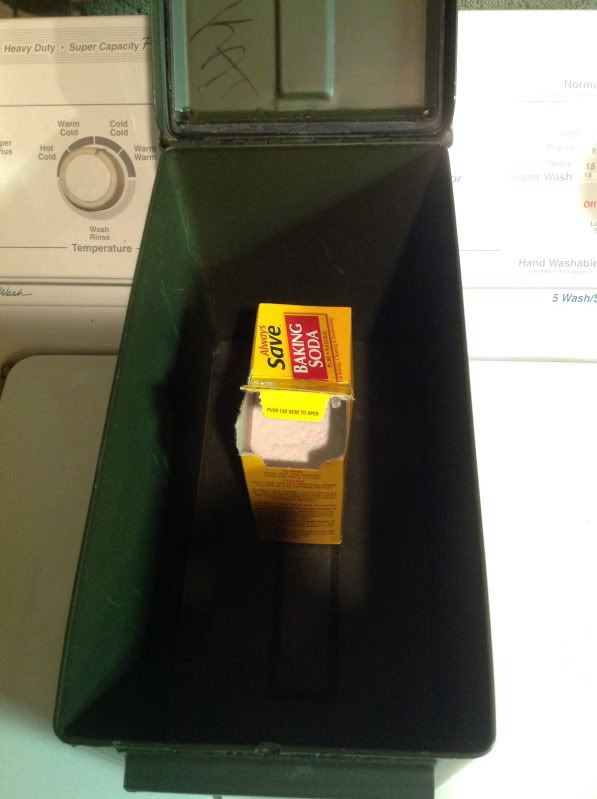
Rinsed and towel dried. Added a box of baking soda to assist in absorbing any residual smells from the can.
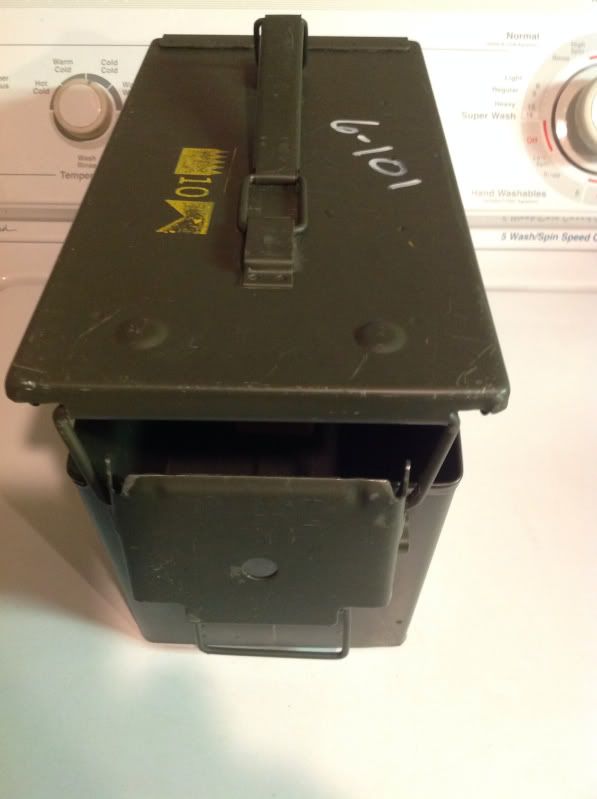
Closed the lid and left it cracked like this, and moved off the washer, to a side table for a few weeks to further dry and absorb smells.
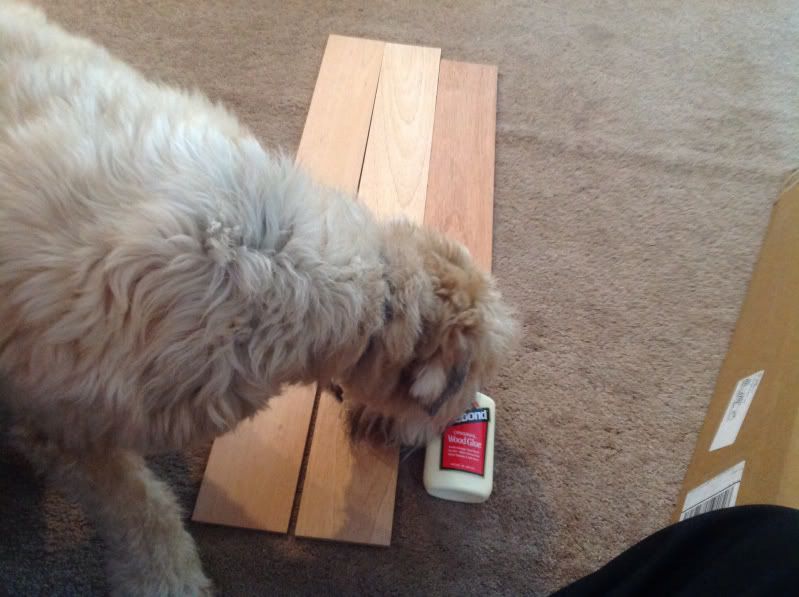
ordered some wood and glue from Woodcraft:
wood ordered:
2 1/4" x 4"x36" planks
1 3/16" x 4" x 24" plank
1 bottle o glue....that I could have gotten at HD/Lowes for hella cheaper!
$44 and gingle shipped.
Of course the damn dog has to inspect every shipment to the house.
My dad's older brother lives in town and has a pretty kickass woodshop in the back of his garage. I called him up and booked some time in the shop.
So on to the progress:
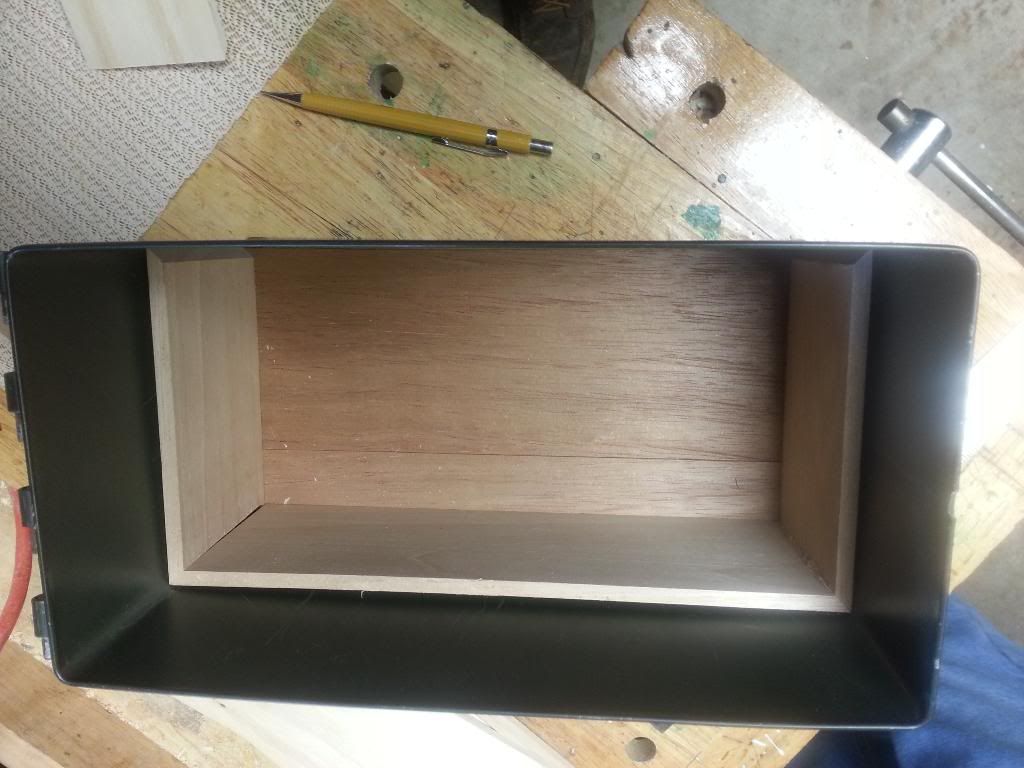
The bottom has a raised center part that we needed to compensate for, so we took some scrap, and for the lack of a better term, we put down a subfloor to make the end product level.
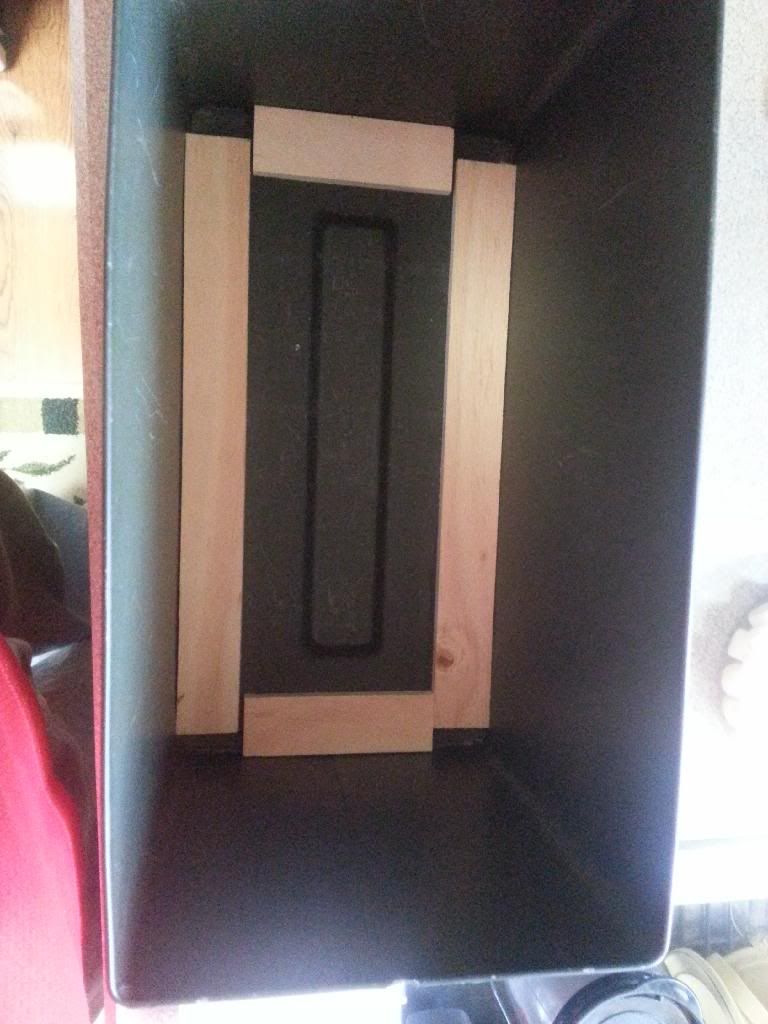
Then we cut the thinner piece of Spanish cedar I got for the floor.
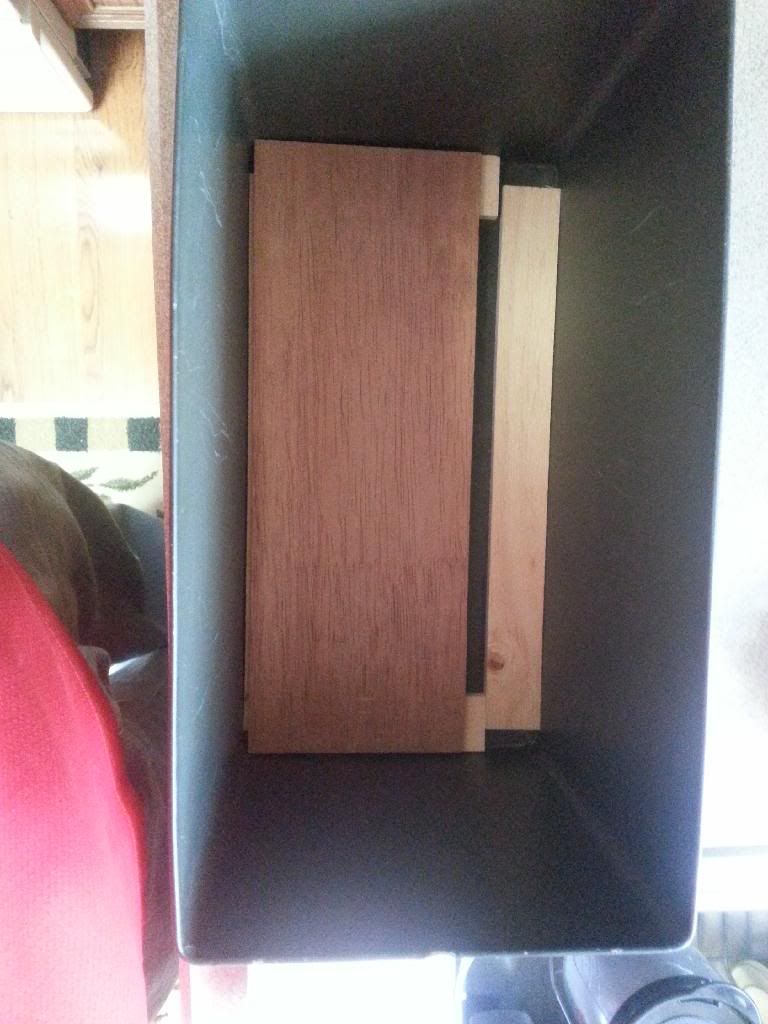
Then we needed to rip the other 1/2 of the remaining thinner piece to roughly 1.5".
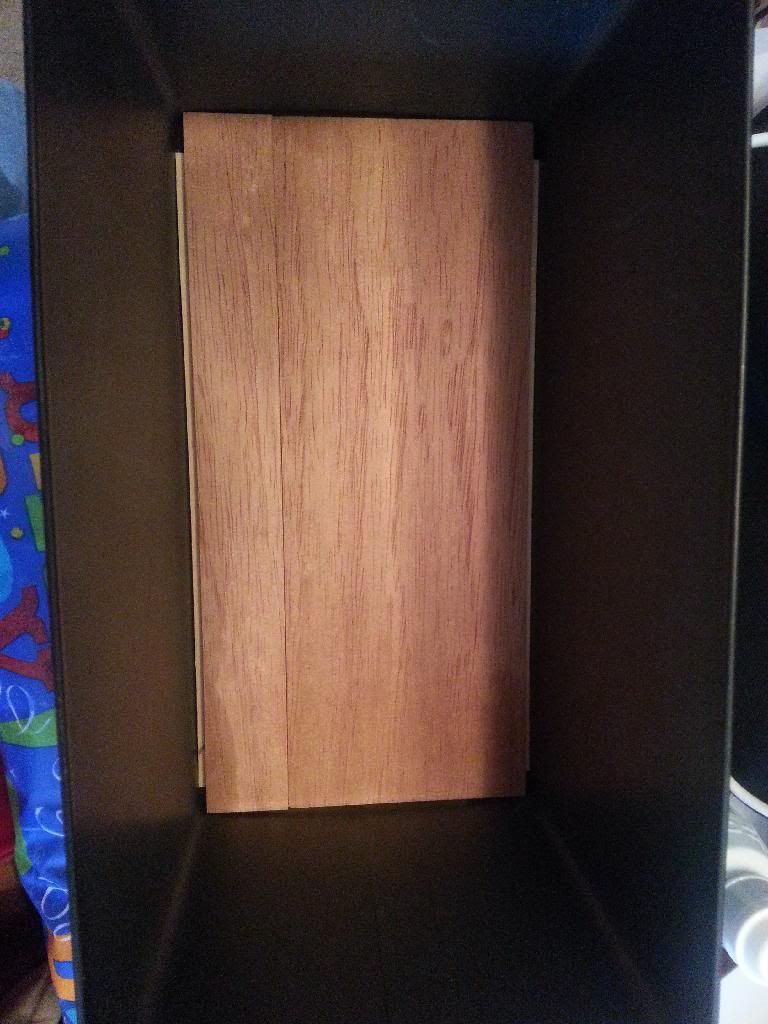
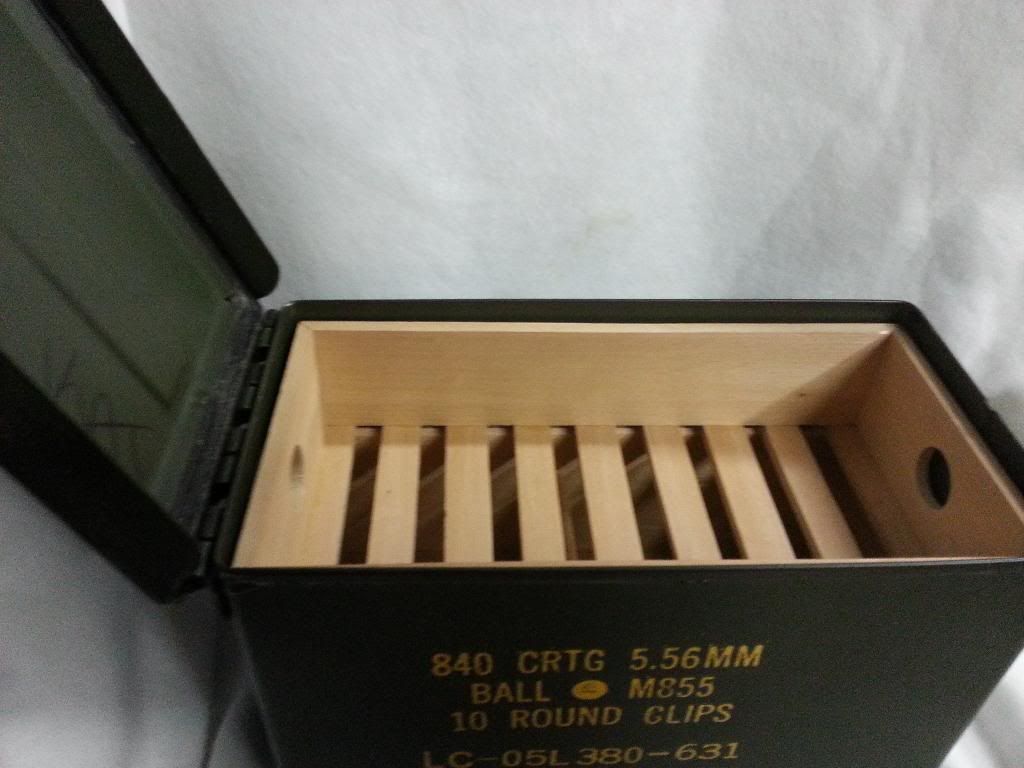
we have a Spanish cedar floor:
Fastforward a few weeks.....
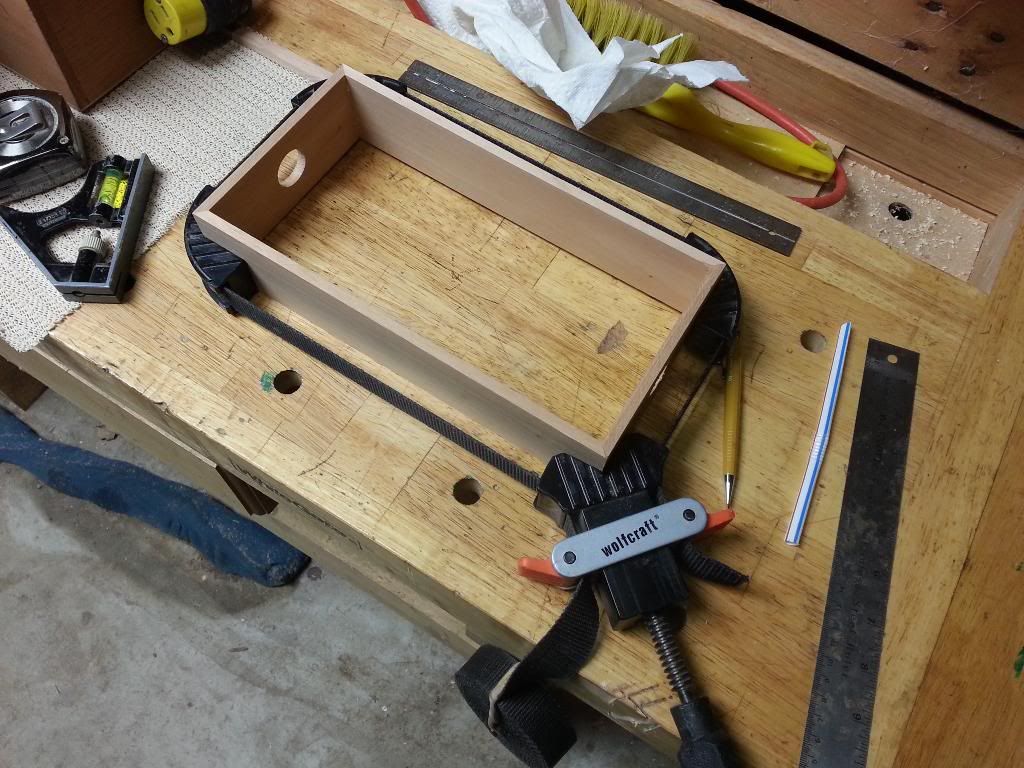
I had to glue the bottom slats on the tray when I got home. That box clamp thing is awesome.

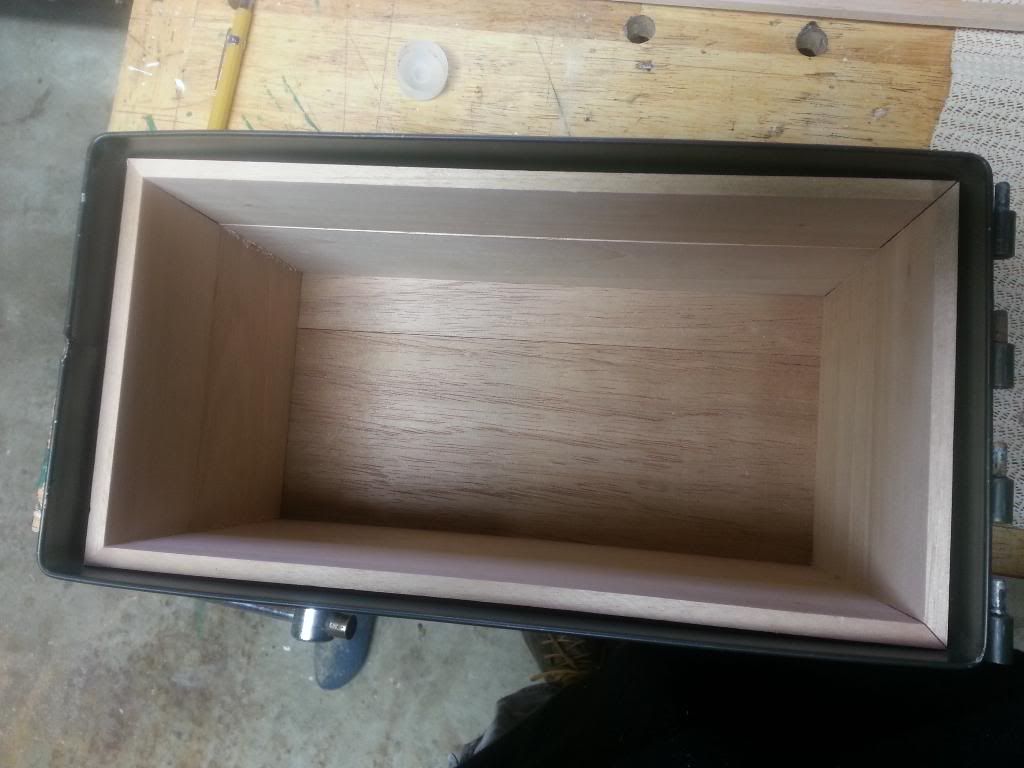
Internal dimensions of the lower compartment:
10 3/8" L x 5" W x 3.5" H
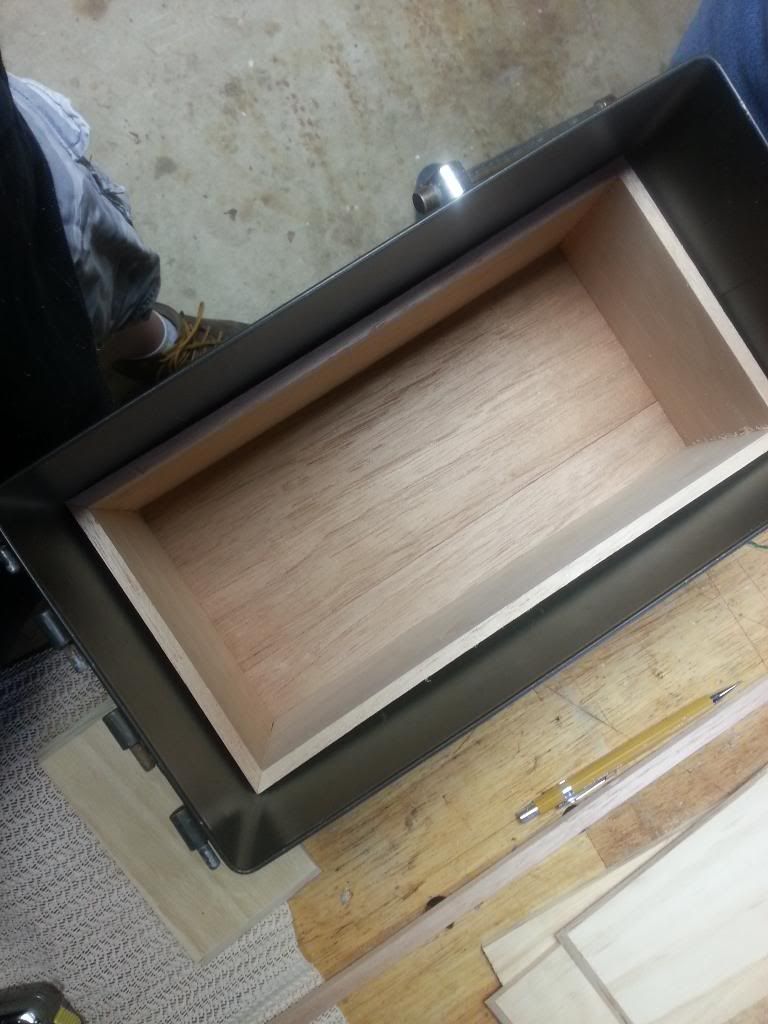
Internal dimensions of the tray:
10.25 L x 4 15/16" W x 2 3/16" H
Problems that we had during the build: 1 it was too f'n cold on day 1, so I waited several weeks for it to warm up.
Day 2 we essentially knocked out all the work with building the tray and wall in about 2 hours or so. The corners are cut at a 45. The miter saw couldn't cut the 4" wide board to build the bottom walls, so we ripped 1/2" off the end to make the walls 3.5" high.
We also used scrap wood of the same thickness to "pre-cut" all the walls to make sure that we weren't cutting things too shortly, thus wasting wood.
The walls are so tightly fitting, no glue was needed.
Making the tray was much easier than I imagined. A) I wanted to make it a loose fit, so we cut the boards just a smidge less than the bottom boards.
We ripped the 4" wide 1/4" board to a width of 2.25" wide leaving 1.75 left to make slats out of. Cut the corners at a 45 and then used that awesome Wolfcraft box strap thingy that holds your cut pieces square like a freaking champ! Never saw one of those and it is worth it if you ever make anything like a small box like a humidor/jewelry box.
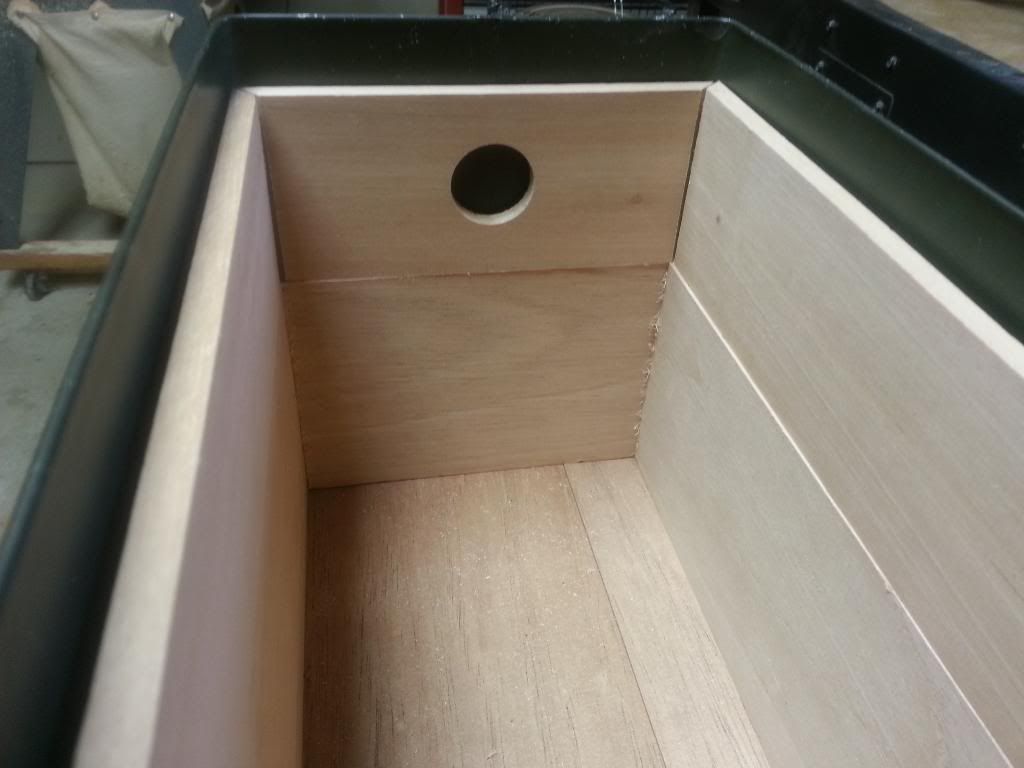
Used a 1" forsner bit to make the holes to be able to pull the tray out.
We then ripped the left over 1.75" wide plank o wood to make the slats for the bottom of the tray. They weren't totally even width wise, so I staggerd a skinny one next to a thick one and rinse and repeat. I think I have like 4 total bottom planks left over if needed.
The bottom slats are just glued on with that titebond food safe glue. red label.
When I got home, I just measured the middle between the slats, and marked the center, glued one in, rinse and repeat.
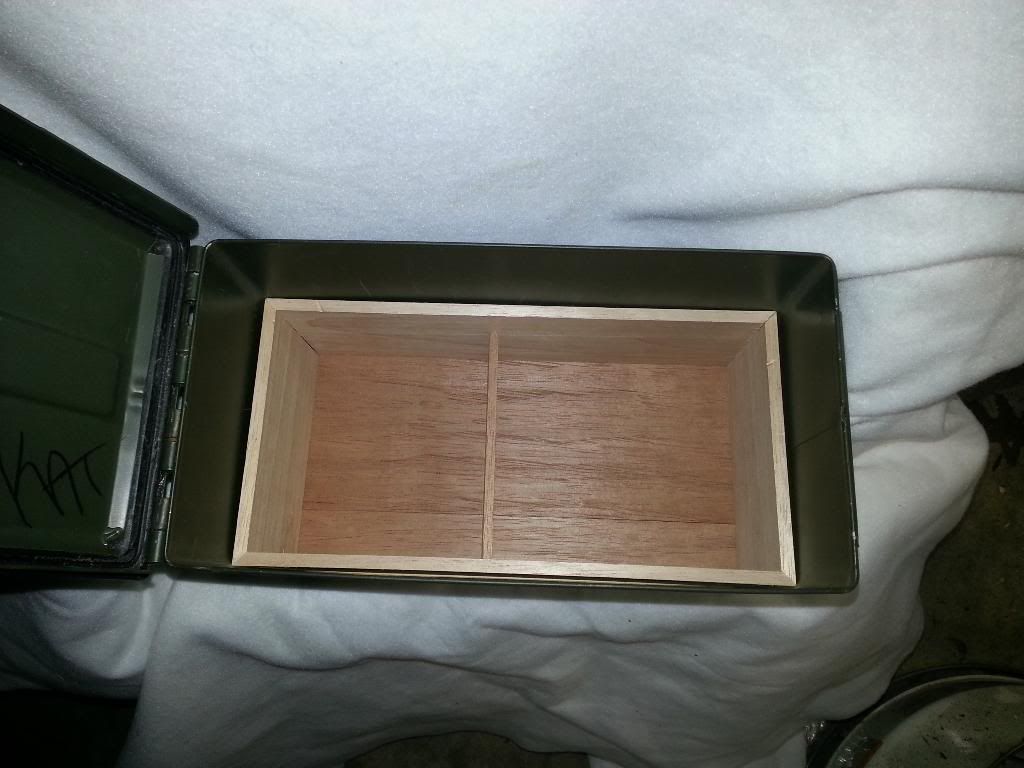
Last cut I did was I had a bit left over of the floor boards was cut a 5" wide divider piece. That way I can isolate my litter hydration bag.
I think that all made sense. I'm pretty freaking pleased. Total work time was under 3.5 hours I'm guessing, that includes the whole cleaning up of the ammo can. Not bad for $64, considering it sells for $100 at ammodors dot com.....and mine has a pimp ass tray and theirs is just walled spanish cedar.
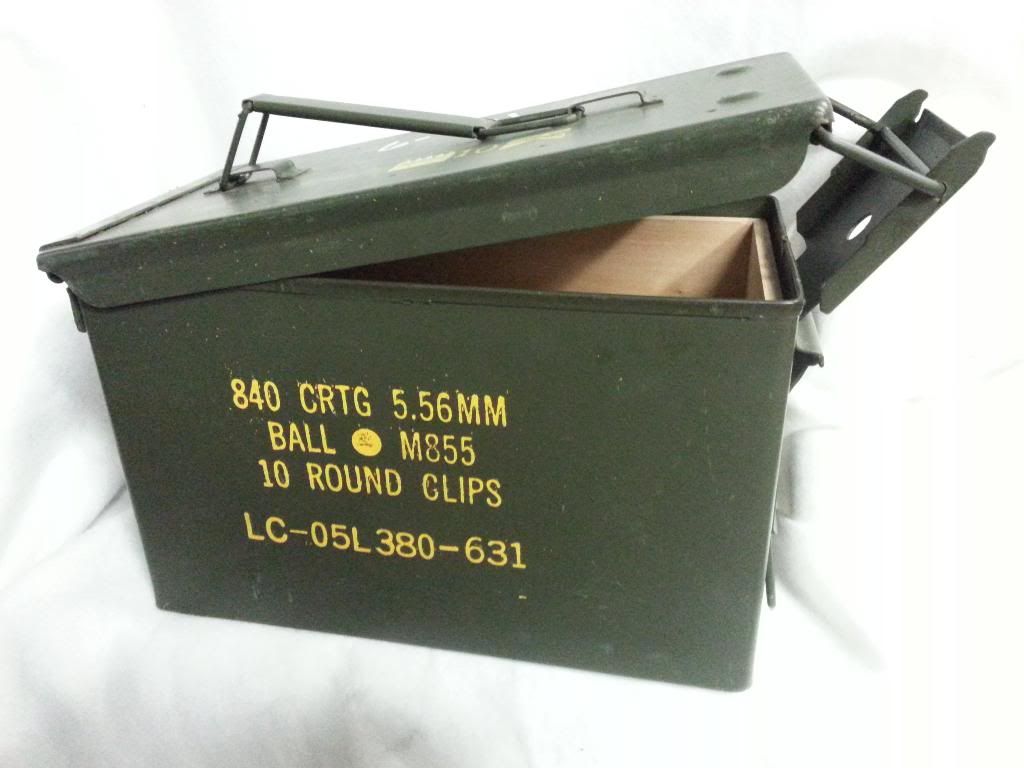
I will be using this one for more of a long term storage type deal, let things age nice a good for a long period of time, as I'm hoping I won't have to deal with hydration issues with a big bag of litter and an airtight seal.
I have ended up switching over to a boveda pack for humidification, just for simplicity sake. The exquisicat litter was running too high, and instead of continually removing more and more, I just said F-it...Boveda. Set it and forget it.
The can is 100% air tight and holds humidification like a boss.
Thanks for looking. Hopefully someone might get inspired and make a better one.
T
So I hit up the local Army surplus joint and picked this bad boy up:
$20
L:11" W: 5.75" H" 7"
Cleaned it up
-took it apart
-Cleaned with anti-bacterial soap.
-Rinsed with warm water:
-Cleaned with distilled white vinegar:
Rinsed and towel dried. Added a box of baking soda to assist in absorbing any residual smells from the can.
Closed the lid and left it cracked like this, and moved off the washer, to a side table for a few weeks to further dry and absorb smells.
ordered some wood and glue from Woodcraft:
wood ordered:
2 1/4" x 4"x36" planks
1 3/16" x 4" x 24" plank
1 bottle o glue....that I could have gotten at HD/Lowes for hella cheaper!
$44 and gingle shipped.
Of course the damn dog has to inspect every shipment to the house.
My dad's older brother lives in town and has a pretty kickass woodshop in the back of his garage. I called him up and booked some time in the shop.
So on to the progress:
The bottom has a raised center part that we needed to compensate for, so we took some scrap, and for the lack of a better term, we put down a subfloor to make the end product level.
Then we cut the thinner piece of Spanish cedar I got for the floor.
Then we needed to rip the other 1/2 of the remaining thinner piece to roughly 1.5".
we have a Spanish cedar floor:
Fastforward a few weeks.....
I had to glue the bottom slats on the tray when I got home. That box clamp thing is awesome.
Internal dimensions of the lower compartment:
10 3/8" L x 5" W x 3.5" H
Internal dimensions of the tray:
10.25 L x 4 15/16" W x 2 3/16" H
Problems that we had during the build: 1 it was too f'n cold on day 1, so I waited several weeks for it to warm up.
Day 2 we essentially knocked out all the work with building the tray and wall in about 2 hours or so. The corners are cut at a 45. The miter saw couldn't cut the 4" wide board to build the bottom walls, so we ripped 1/2" off the end to make the walls 3.5" high.
We also used scrap wood of the same thickness to "pre-cut" all the walls to make sure that we weren't cutting things too shortly, thus wasting wood.
The walls are so tightly fitting, no glue was needed.
Making the tray was much easier than I imagined. A) I wanted to make it a loose fit, so we cut the boards just a smidge less than the bottom boards.
We ripped the 4" wide 1/4" board to a width of 2.25" wide leaving 1.75 left to make slats out of. Cut the corners at a 45 and then used that awesome Wolfcraft box strap thingy that holds your cut pieces square like a freaking champ! Never saw one of those and it is worth it if you ever make anything like a small box like a humidor/jewelry box.
Used a 1" forsner bit to make the holes to be able to pull the tray out.
We then ripped the left over 1.75" wide plank o wood to make the slats for the bottom of the tray. They weren't totally even width wise, so I staggerd a skinny one next to a thick one and rinse and repeat. I think I have like 4 total bottom planks left over if needed.
The bottom slats are just glued on with that titebond food safe glue. red label.
When I got home, I just measured the middle between the slats, and marked the center, glued one in, rinse and repeat.
Last cut I did was I had a bit left over of the floor boards was cut a 5" wide divider piece. That way I can isolate my litter hydration bag.
I think that all made sense. I'm pretty freaking pleased. Total work time was under 3.5 hours I'm guessing, that includes the whole cleaning up of the ammo can. Not bad for $64, considering it sells for $100 at ammodors dot com.....and mine has a pimp ass tray and theirs is just walled spanish cedar.
I will be using this one for more of a long term storage type deal, let things age nice a good for a long period of time, as I'm hoping I won't have to deal with hydration issues with a big bag of litter and an airtight seal.
I have ended up switching over to a boveda pack for humidification, just for simplicity sake. The exquisicat litter was running too high, and instead of continually removing more and more, I just said F-it...Boveda. Set it and forget it.
The can is 100% air tight and holds humidification like a boss.
Thanks for looking. Hopefully someone might get inspired and make a better one.
T
")