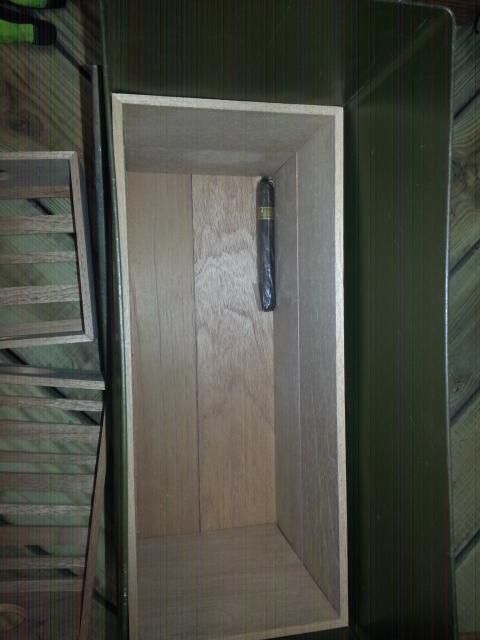
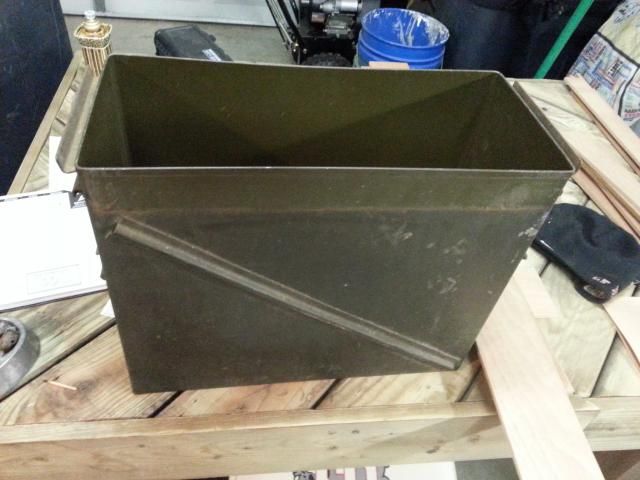
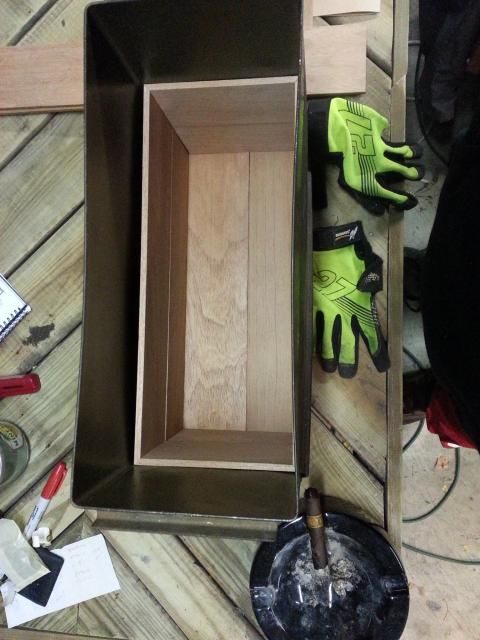
My buddy got a 30mm ammo can that was given to him by a dude that brought it home from Viet Nam. Its huge.
Dimensions are around: 17"L x 8-3/4"w x 14" H.
Biggest problem is that the center of this thing is warped like a MOFO! Interior dimensions are around 17x7.5x14. The center of the box is under 7", thus f'ing up the box drawers that I split in half, just so my pal can access the cigars down below without having to remove the entire tray o cigars.
on to the pictures!
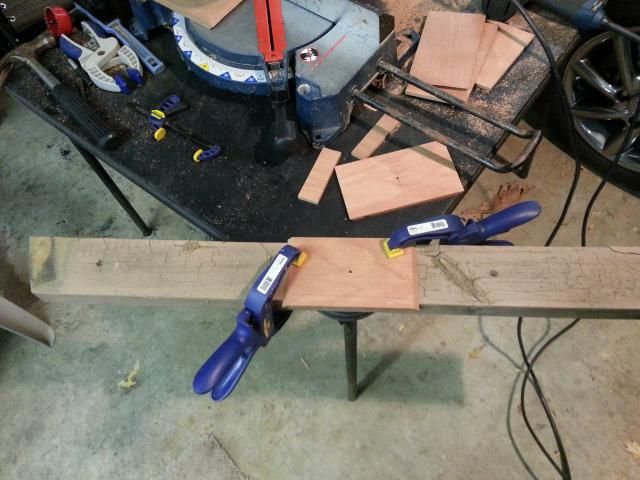
I paid less for this spanish cedar, for a humidor about 4-5x the size of mine I made back at the first of the year. $42 for all this wood. A guy I met through my B&M cigar shop has a 3 car garage that is his wood shop. He has a huge piece of Spanish cedar that is 1.25" thick and 10" wide and now about 7' long and we ripped the lumber out of this, cut it to size, and ripped the boards to 1/4" thickness.
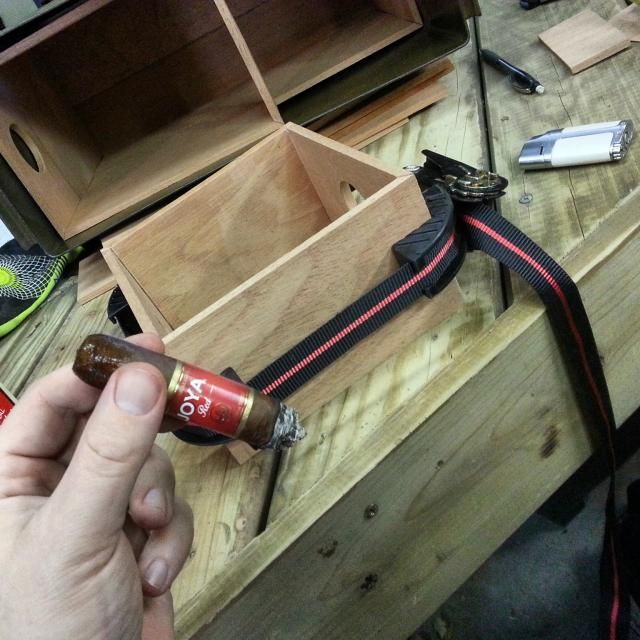
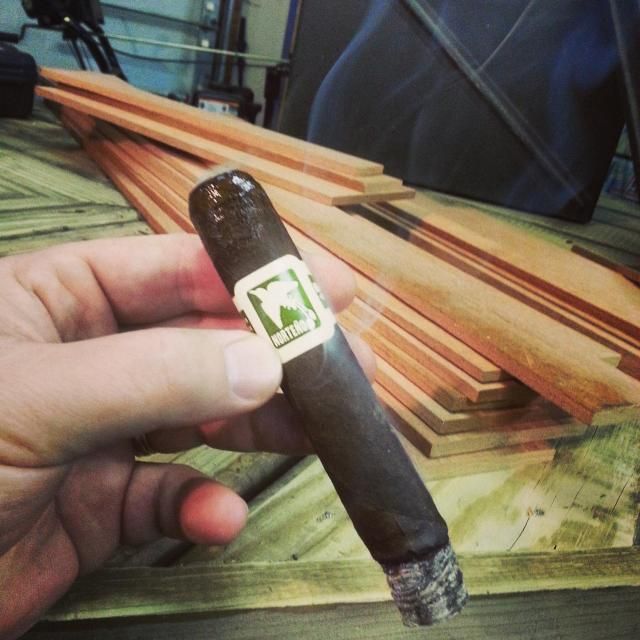
of course, you gotta have a cigar or several when you are making a humidor!
side view of the can:
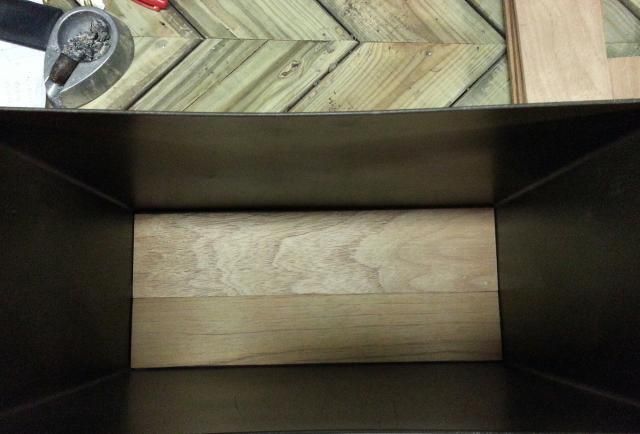
put the sub floor in. had to do a bit of trimming, but worked out fine:
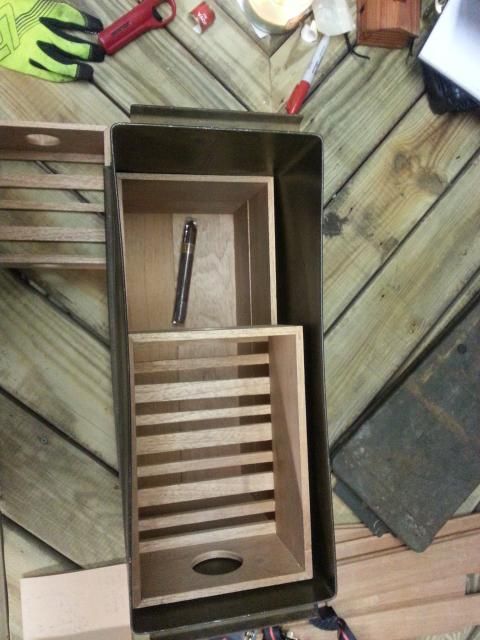
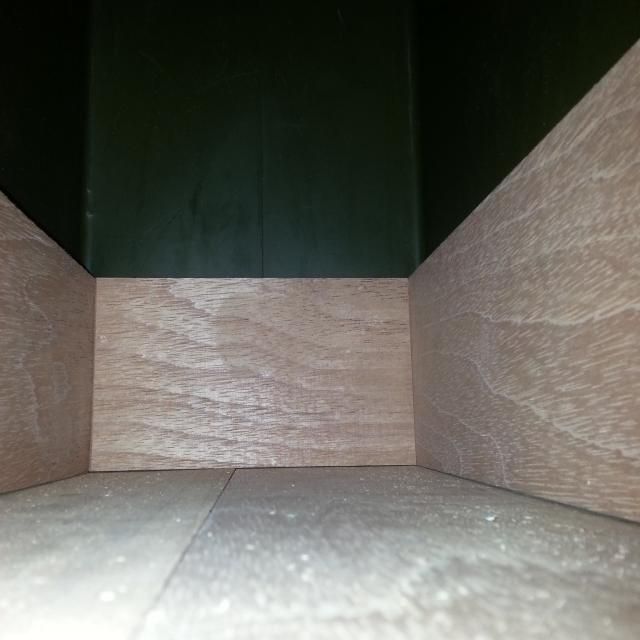
Got layer 1 of the 4" high walls in. The corners are cut on a 45 and are free floating because they are crazy tightly fitting.
Layer #2 of 4" high walls installed!
Now I needed to plan on how to split the drawers without them falling down into the lower section.
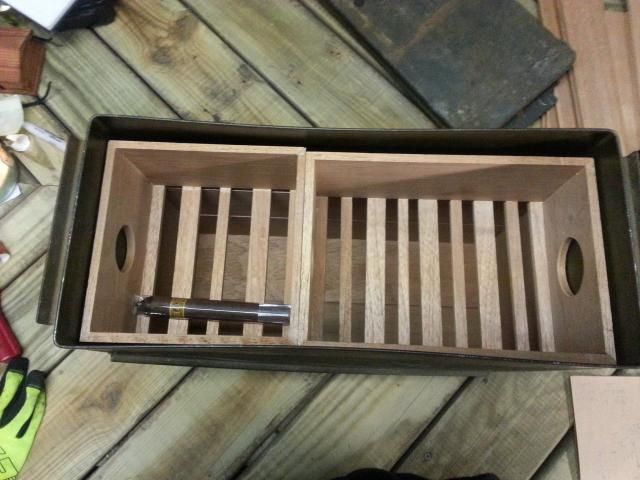
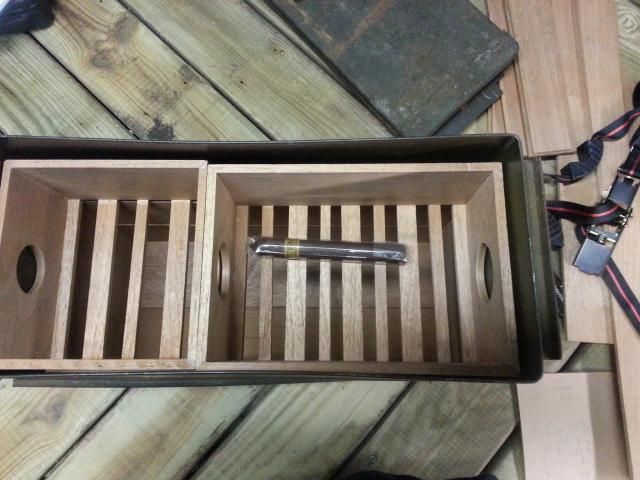
Since the interior is around 17" long, I am doing one drawer 10" the other 7"
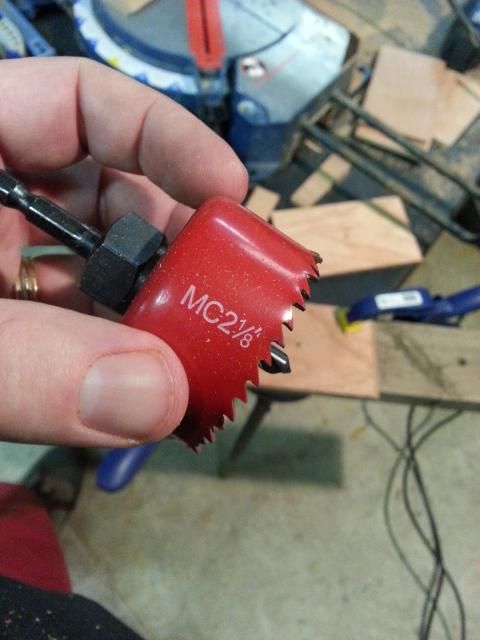
While using my top of the line work bench, I found the center of 1 of the boards for the pilot hole. I clamped down 1 of the end walls to start drilling the holes:
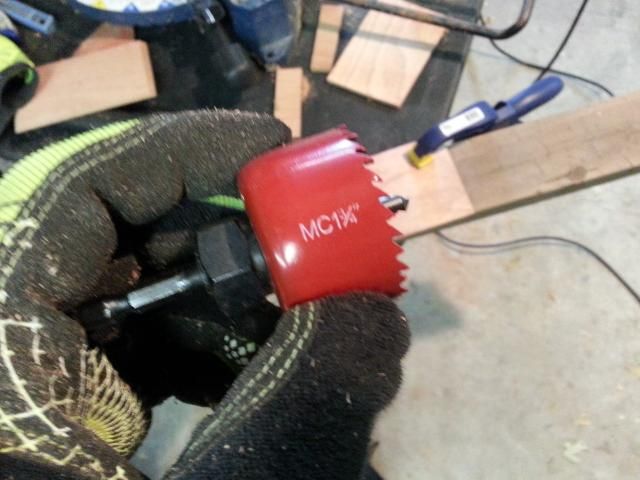
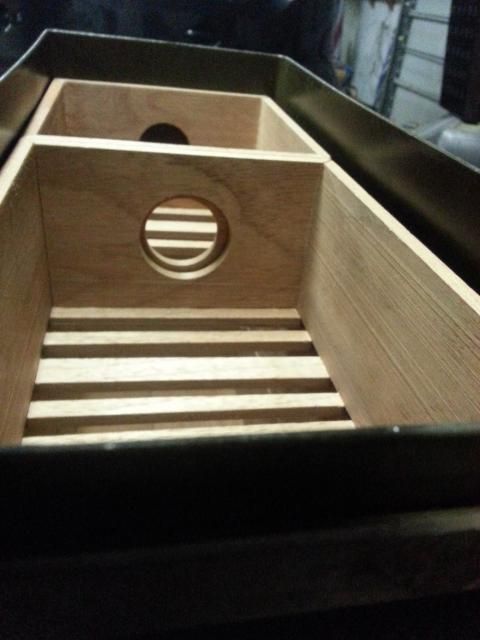
Since I'm going to have 2 drawers side to side, I am going to use 2 different sized holes. Since this is the bigger 10" box, I'm using the bigger hole saw.
cut out:
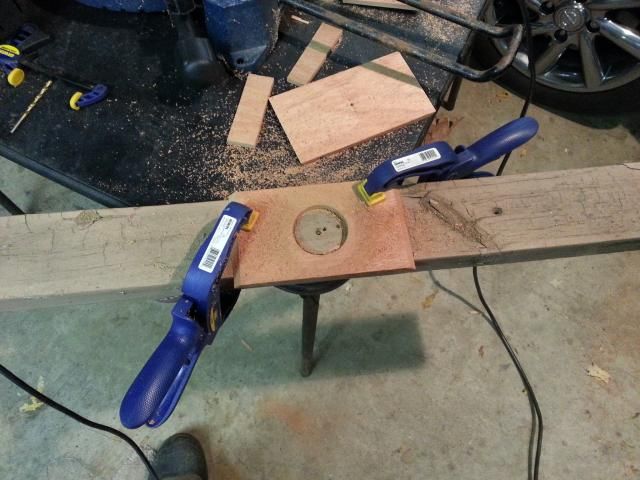
rinse and repeat for the other end board.
I picked up a 1" wide ratcheting band clamp from Harbor Freight to assist in the gluing of the box shape. Worth every penny of $6, but it takes some time getting used to how to work it to get things lined up perfectly...I'm sure I'll be proficient in about 5-6 more humidors!
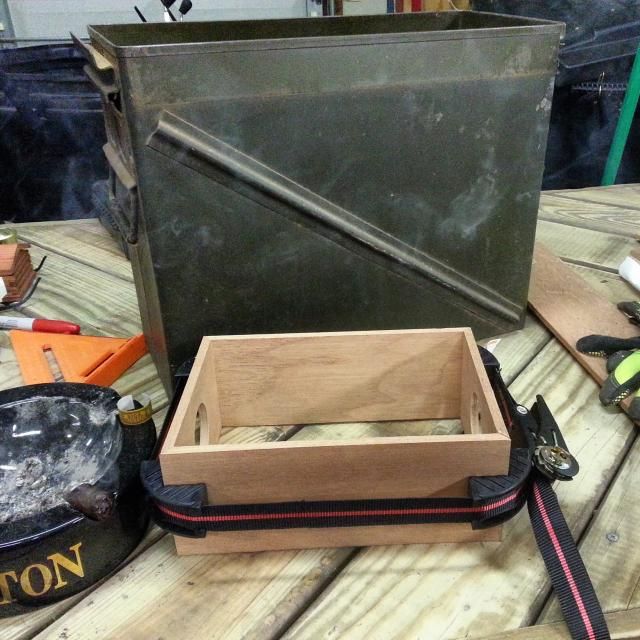
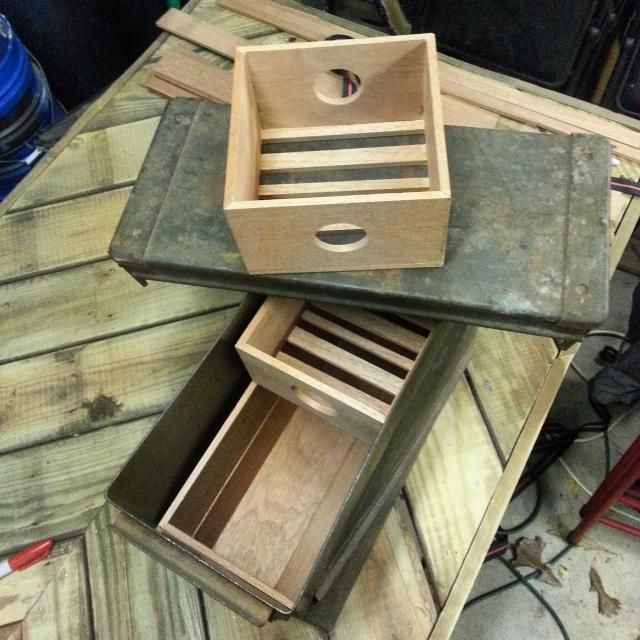
Get it all squared up, and check for fit, loosen clamps, glue it and tighten up the ratcheting band clamp
ProTip #1: Do the check for fit move before you go cutting the holes, so if you have to trim a bit off the sides to get a loose fit on the drawer for easy removal, you don't have to worry about the holes not being perfectly centered if you have the ADHD.
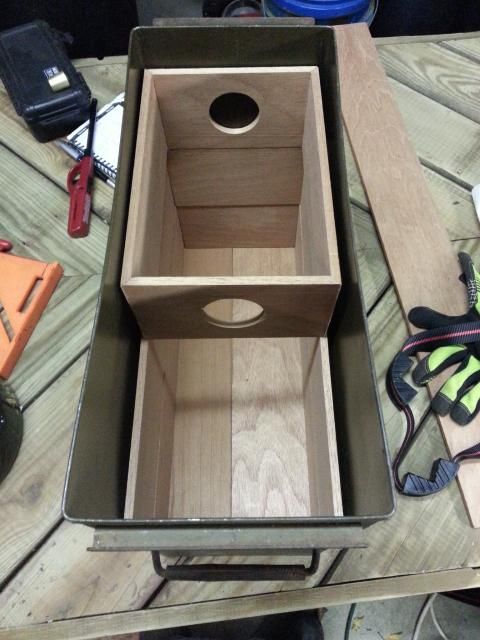
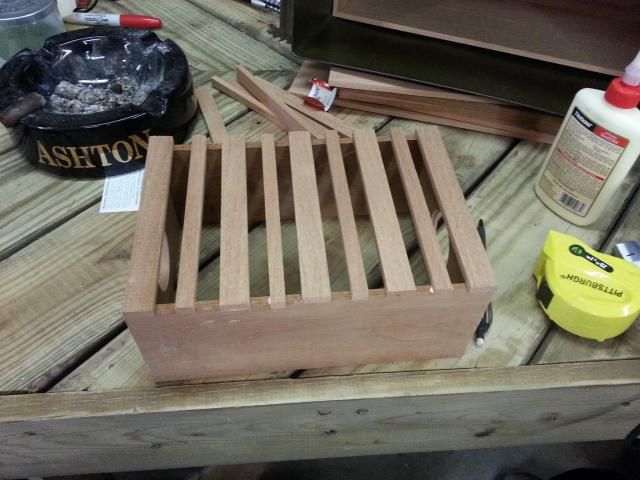
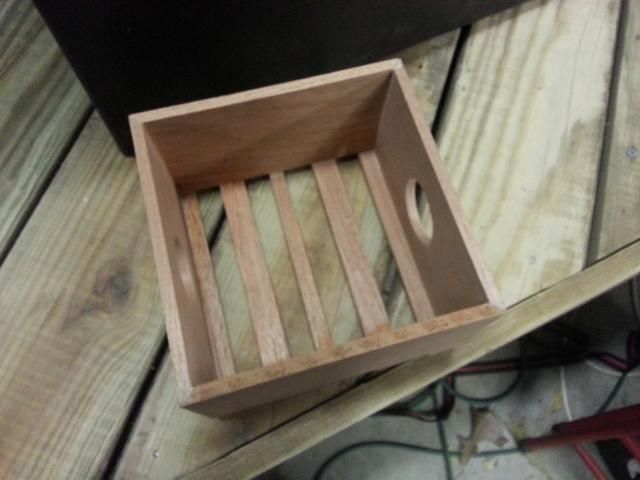
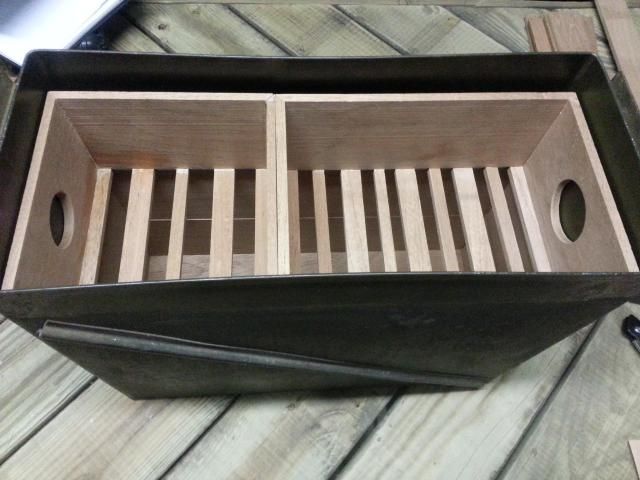
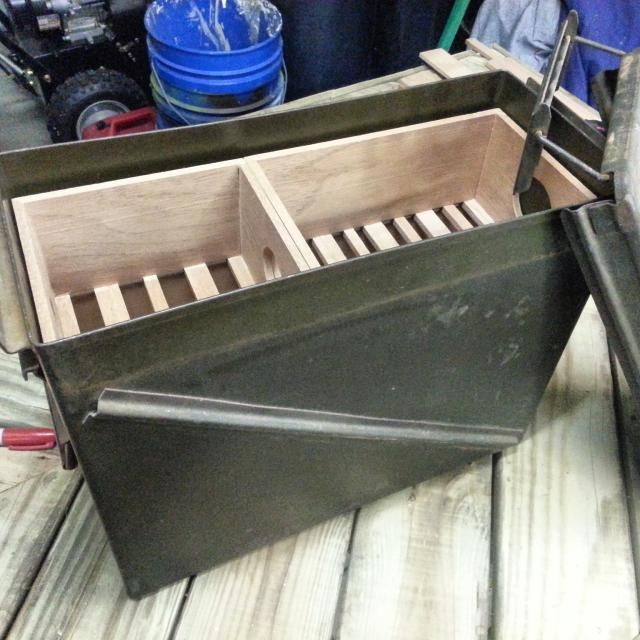
Drawer fits, gotta add the bottom slats and do drawer #2 and slats and done!
to be continued......
Dimensions are around: 17"L x 8-3/4"w x 14" H.
Biggest problem is that the center of this thing is warped like a MOFO! Interior dimensions are around 17x7.5x14. The center of the box is under 7", thus f'ing up the box drawers that I split in half, just so my pal can access the cigars down below without having to remove the entire tray o cigars.
on to the pictures!
I paid less for this spanish cedar, for a humidor about 4-5x the size of mine I made back at the first of the year. $42 for all this wood. A guy I met through my B&M cigar shop has a 3 car garage that is his wood shop. He has a huge piece of Spanish cedar that is 1.25" thick and 10" wide and now about 7' long and we ripped the lumber out of this, cut it to size, and ripped the boards to 1/4" thickness.
of course, you gotta have a cigar or several when you are making a humidor!
side view of the can:
put the sub floor in. had to do a bit of trimming, but worked out fine:
Got layer 1 of the 4" high walls in. The corners are cut on a 45 and are free floating because they are crazy tightly fitting.
Layer #2 of 4" high walls installed!
Now I needed to plan on how to split the drawers without them falling down into the lower section.
Since the interior is around 17" long, I am doing one drawer 10" the other 7"
While using my top of the line work bench, I found the center of 1 of the boards for the pilot hole. I clamped down 1 of the end walls to start drilling the holes:
Since I'm going to have 2 drawers side to side, I am going to use 2 different sized holes. Since this is the bigger 10" box, I'm using the bigger hole saw.
cut out:
rinse and repeat for the other end board.
I picked up a 1" wide ratcheting band clamp from Harbor Freight to assist in the gluing of the box shape. Worth every penny of $6, but it takes some time getting used to how to work it to get things lined up perfectly...I'm sure I'll be proficient in about 5-6 more humidors!
Get it all squared up, and check for fit, loosen clamps, glue it and tighten up the ratcheting band clamp
ProTip #1: Do the check for fit move before you go cutting the holes, so if you have to trim a bit off the sides to get a loose fit on the drawer for easy removal, you don't have to worry about the holes not being perfectly centered if you have the ADHD.
Drawer fits, gotta add the bottom slats and do drawer #2 and slats and done!
to be continued......